Here’s how to save money as you crop and enlarge your pictures with My Digital Studio! Doesn’t that sound great?
Have you ever taken a picture into the photo store to be enlarged for a scrapbook layout? It can cost $5 or $10 just for a 5 x 7″enlargement – and that is if you are simply enlarging the whole picture. You may need to pay extra to get them to zoom in on a particular part of the picture, cropping out the rest!
I love using My Digital Studio for my digital scrapbooking, and one of the biggest reasons is that I can crop and enlarge pictures on the fly! No waiting, and no big expense! Let me show you two examples:
1) Giant size pictures (LOL)
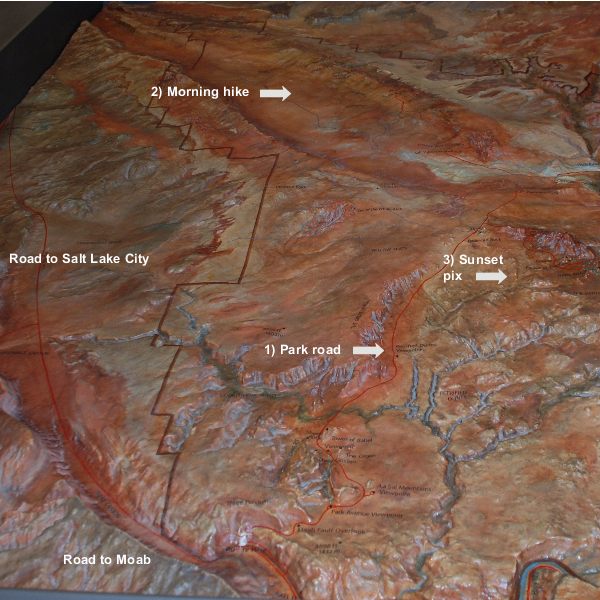
Here are two pages that I made about my trip to Utah this past summer, where I went hiking in Arches National Park. In the Visitors Center, I took a picture of this cool 3D topographical map, and then blew it up to giant size so I could add labels for the different areas that I hiked and visited! I made it so big that I had to split it between two pages, so here is the left page and then the right page:
2) Zooming in on a picture
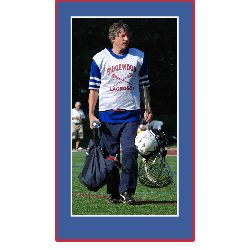
And here is what the picture looks like when I zoomed in on him, cropping out the distracting stuff on the sides:
POW! my eye focuses on him (and he is indeed a handsome fellow, yes?). I quickly added a white mat around the picture, then inserted a square punch behind it, stretched it to the right size, colored it Pacific Point blue and matted a red mat on the punched shape for a triple mat. All in about 60 seconds! And note – if there was not already a Stampin’ Up! color that matched his uniform, I also could have made the punched mat exactly match a color in the picture!
Can you think of some scrapbook pages you have done where this would have been useful? I bet you’re happy that you see how to save money as you crop and enlarge your pictures with My Digital Studio!


