Wow, I am so excited that the Olympics have started that after watching the Olympic Opening Ceremony, I decided to make my own version of the Olympic rings in My Digital Studio! I used a nifty trick, which I will describe below.
You may have figured that I made the rings using circle punch shapes, and you are correct! However, the tricky part comes in because they are overlapping! Here’s my Step-by-step directions:
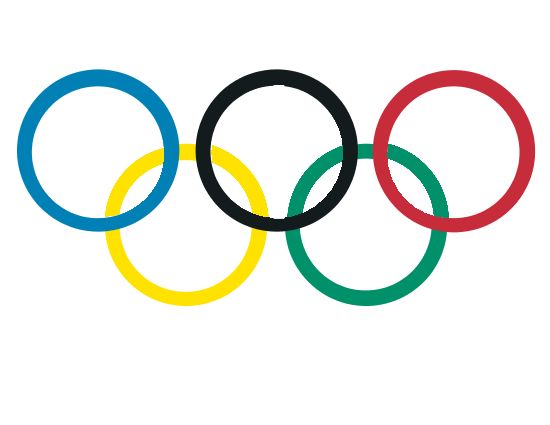
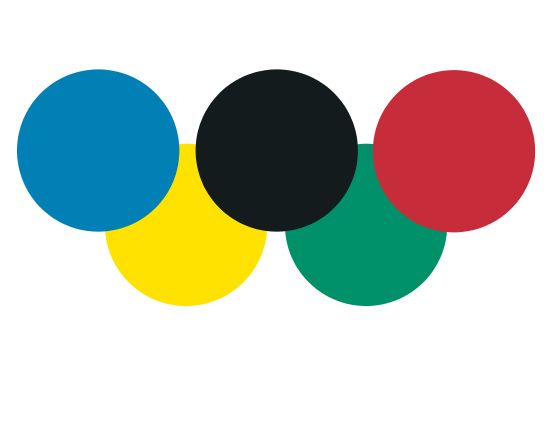
Step A) Make 5 circles using the circle punch, resize and align correctly on the page. I used Pacific Point, YoYo Yellow, Basic Black, Garden Green and Real Red for my basic circle punch shapes.
Step B) I added more circle shapes in a smaller size for the center of the rings.
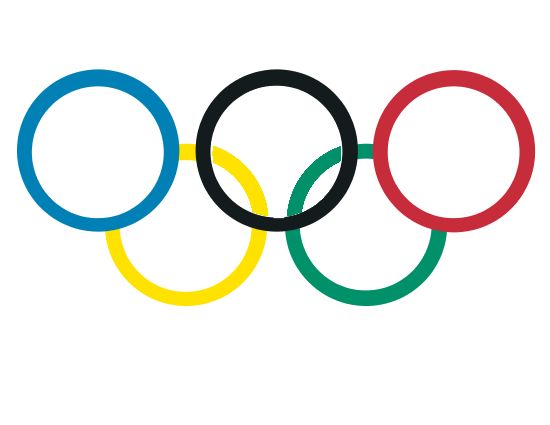
Step C) Well, the previous step looks basically OK, but we know that you can see the bottom rings through the centers of the top rings… so here’s where I use a fun trick to make the Olympic rings in My Digital Studio! First, I made a duplicate copy of the page and deleted all but the bottom two rings. Then I exported it as a JPEG so that I would be able to use it as a picture.
Step D) Now I did a couple steps to make a new center for the top black ring, so that it would look like the bottom yellow and green rings were showing through.
- I added a photo box to the page and resized it to be the same width as the center white circles
- I clicked on Photo Shape to turn it into a circle
- Now I filled it with the JPEG of the bottom pair of rings
- Zoomed in & out so that the size of the rings matches the originals
- Went into Crop to adjust which piece of the JPEG picture I was grabbing in the ring (I added a thin black border so you could see the circle shape)
Step E) I added the circle photo to the original image, aligning it so that it looks like the yellow and green rings from the bottom row are showing through the center of the top black ring!
Step F) I did the same thing with the center circles for the blue and red rings and added them into place on the picture.
Looks pretty good, doesn’t it? I was pretty happy with the results, and I think this is a trick that can be used in lots of other places as well. For example, I could make a tennis ball as a graphic to add to one of my hubby’s tennis tournament pages!
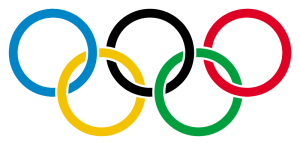
But there’s one more thing that I forgot to take into account: in the actual Olympic rings, all of the rings are INTERLOCKING! Aargh!
But, no need to worry… I am pretty sure I know a way to make that work! However, I am going to wait just a few more days until the new version of MDS 2+ is released, because one of the wonderful new features is that we can apply different colors to a stamped image… and I think I have a plan!
I had a ball doing this. If you are also interested in having fun with this great software, get ready to order it on August 1! And if you already have MDS Express or MDS, you can simply order the upgrade for $19.95 to get all the cool new features that are coming out. And you can make your own version of the Olympic Rings in My Digital Studio to honor the Olympic Opening Ceremony!






awesome! Lots of steps but it turned out amazing!
Hi Tammy,
You’re right – it was a lot of steps, in part because there are so many rings! But once I figured it out in my head, it was just a matter of repeating the same couple things. I had fun. Thanks for checking it out!