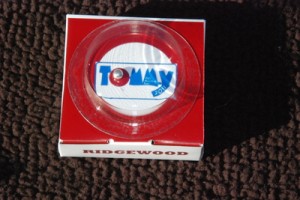
Hey, yesterday I posted pictures of the cool little gifts I made for the marching band banquet, and I promised to share the My Digital Studio treat box directions! So here we go.
The music for this year’s show was Tommy by The Who. So, as I posted yesterday, I used the Stampin’ Up! Sweet Treat Cups and added one of those little silver cake decorating balls as a pinball. You can roll the ball around and try to get it into the hole that I punched in the letter “O” of the word “Tommy.”
Of course, it is fun to make little gifts or favors like this, and it only takes a couple minutes to assemble one… but when you make 100 of anything, those minutes can add up and it can take a while! So, I used my brain and some of my favorite paper crafting tools to make it go faster… and make the results look really professional! Read on!
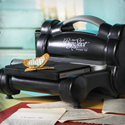
While you can of course just cut out the shape for a box from some cardstock, score the sides and fold into a box, using the Big Shot and the Bitty Box die make quick work of it. Feed the paper and die in, roll the handle and the die cuts the shape AND scores the fold lines in one easy step! Then it is easy to fold along the score lines and assemble the box.


